Viewers will forgive average video quality, but poor audio makes them click away. The good news: better sound is cheaper and easier than better video. Follow these steps.
1. Get the mic closer
Distance is the biggest factor in audio quality. A camera's built-in mic is far from your mouth and picks up the whole room. Any external mic placed closer to you will sound better.
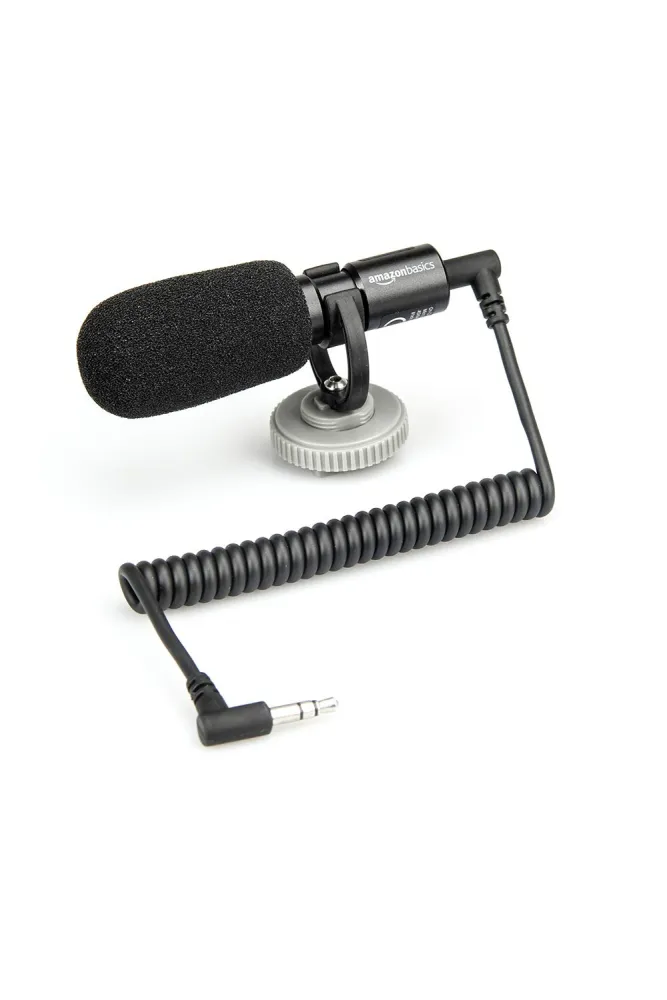
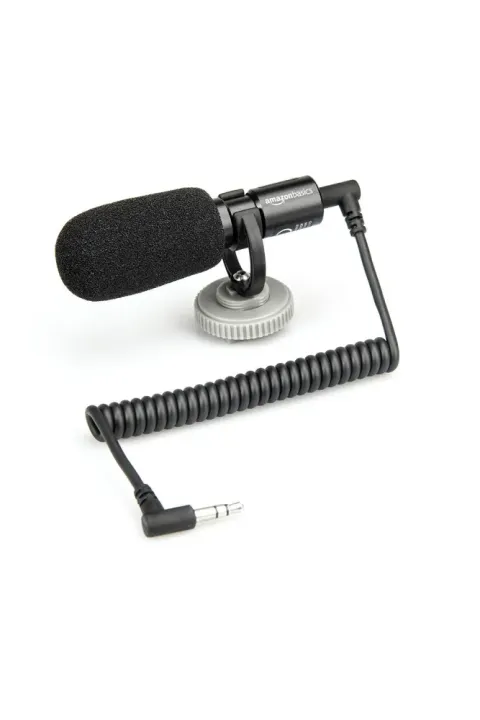
- Vlogging and B-roll: an on-camera mic pointed at your subject.
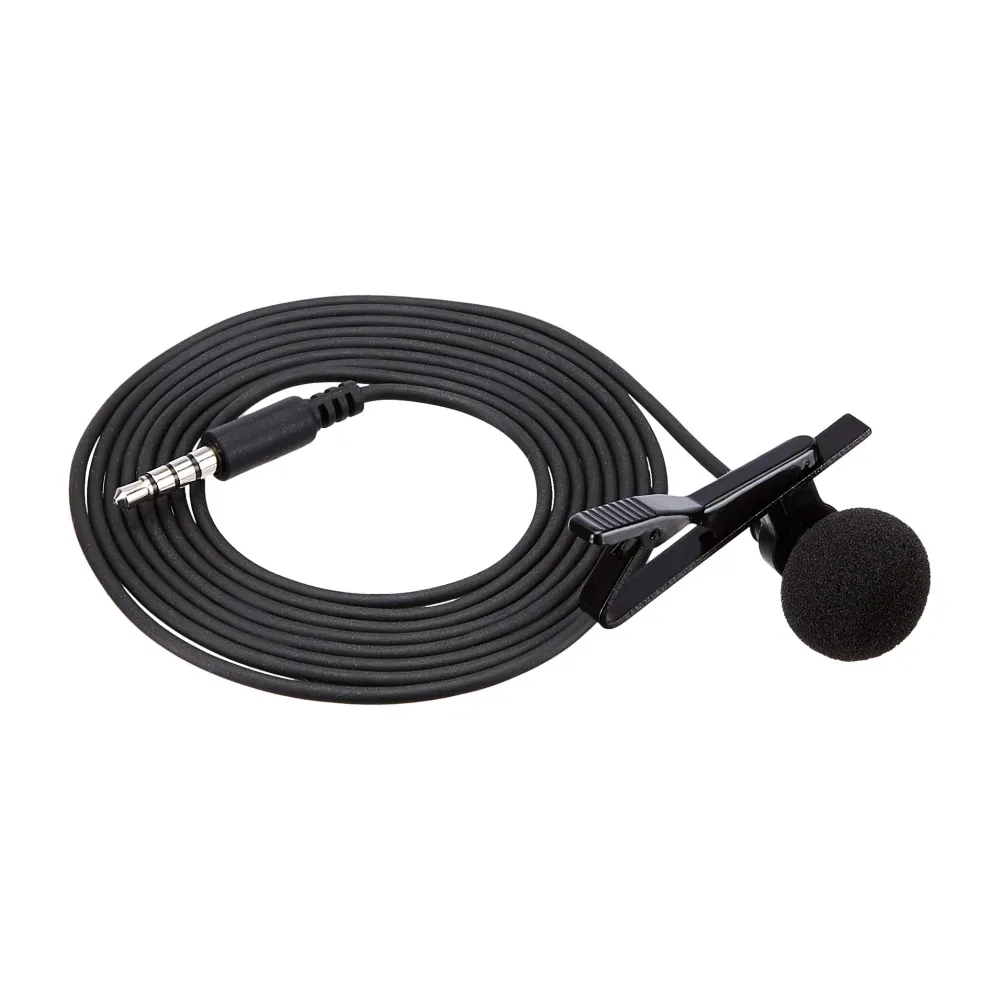
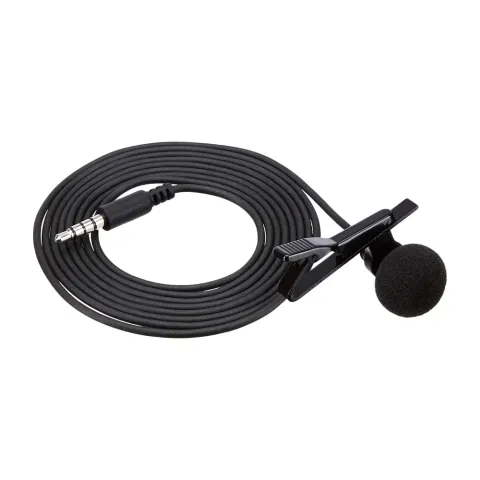
- Talking-head videos and interviews: a lapel mic clipped 15–20 cm below your chin.
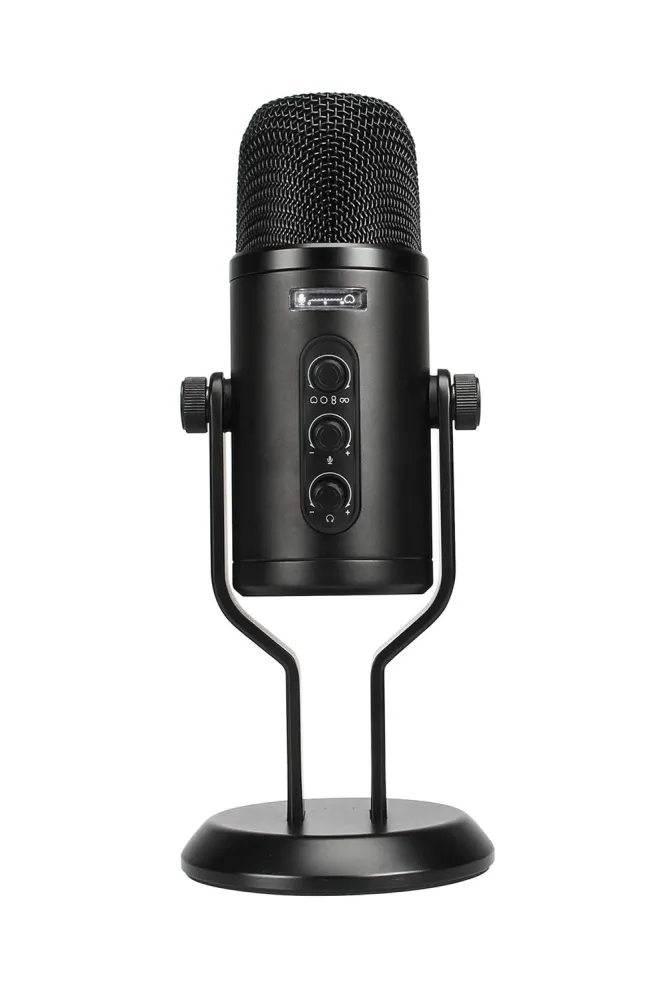
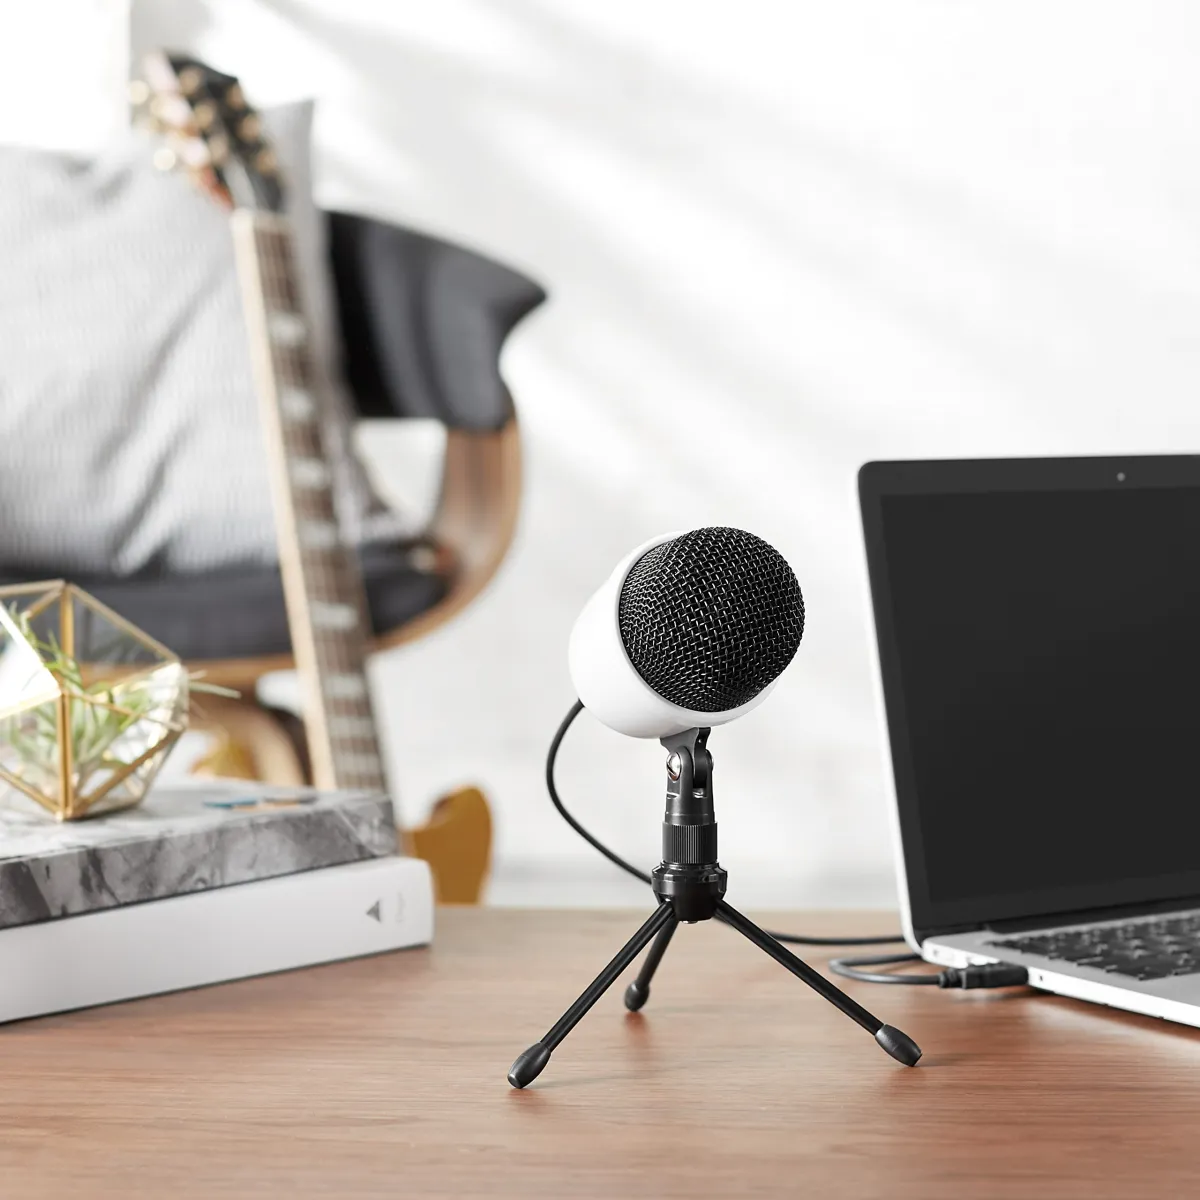
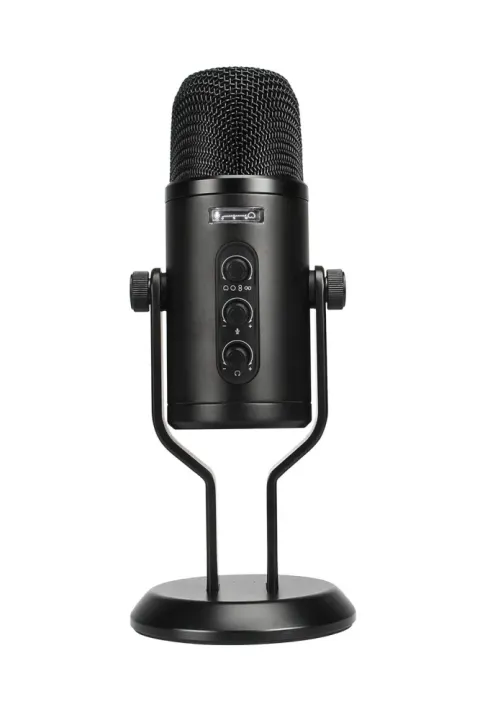
- Desk videos, tutorials and voice-overs: a USB mic 10–15 cm from your mouth.
2. Choose a quiet space
- Switch off fans, ACs and fridges while recording.
- Record when traffic is lighter, such as early mornings or late evenings.
- Close windows and doors.
3. Treat the room cheaply
Echo makes audio sound amateur. Soft surfaces absorb sound:
- Record in a bedroom rather than an empty hall.
- Hang a thick blanket behind the camera.
- Add rugs, cushions and curtains.
- Even recording inside a wardrobe full of clothes works for voice-overs!
4. Set levels correctly
- Aim for your voice to peak around -12 dB to -6 dB on the meter.
- Never let it hit 0 dB. Clipped audio cannot be fixed.
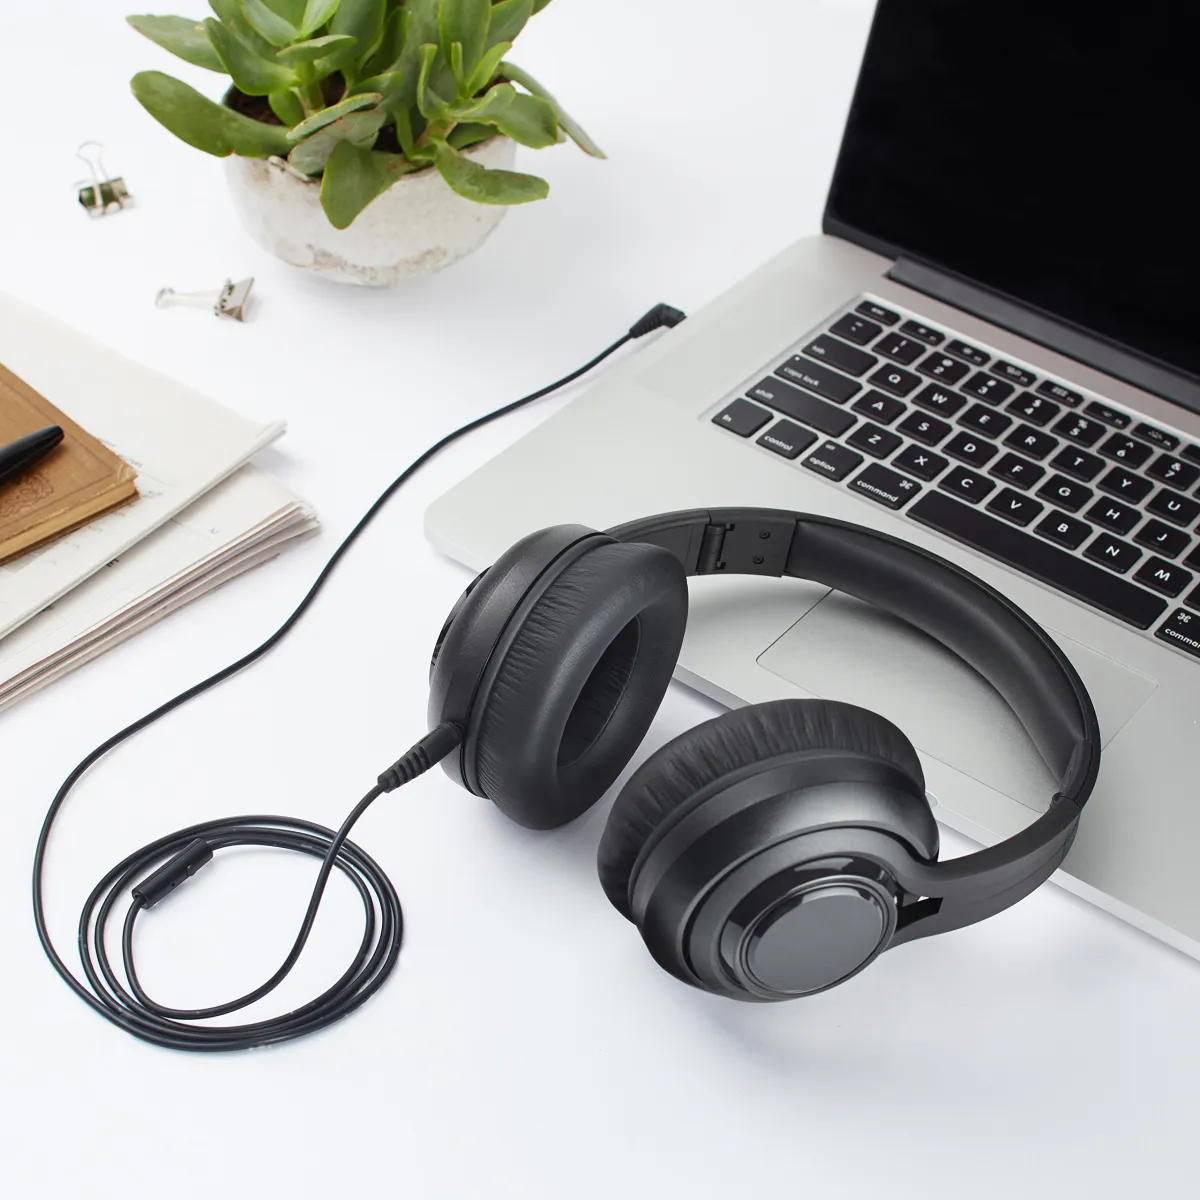
- If your mic has a headphone jack, monitor with headphones while recording.
5. Use a windscreen outdoors
Even light wind causes rumbling. Always use the foam windscreen (or a furry "dead cat") when shooting outside.
6. Record a backup
For important shoots, record on two devices, for example a lapel mic into your phone and the on-camera mic into your camera. Sync them in editing.
7. Light editing makes a big difference
- Noise reduction: remove steady hiss and hum.
- EQ: cut rumble below about 80 Hz.
- Compression: evens out loud and quiet parts.
- Normalize: target about -14 LUFS for YouTube.
Summary
Get the mic close, pick a quiet soft room, keep levels below 0 dB and monitor with headphones. Find the right gear in Microphones and Studio & Recording.